
How to Upload Media to Your WordPress Site
Gather Your Media Files
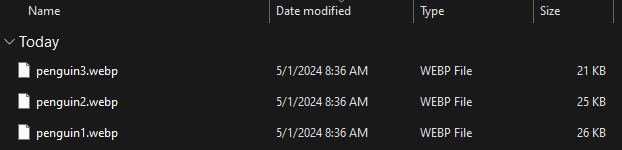
Collect the media files you wish to upload to your website. Typically, it is advisable to use JPEG or WEBP files if you are uploading images, as these are typically smaller and more SEO-friendly than other file types.
Locate the Media Tab
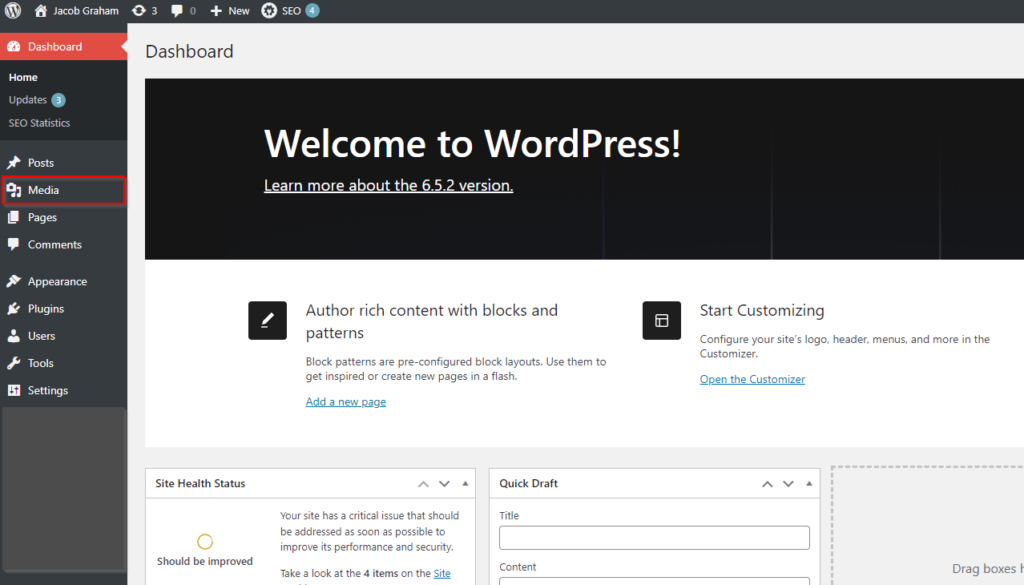
Begin by logging in to an account that has administrator access to the site. Then, visit your admin dashboard. Once you reach the dashboard, click on the Media tab on the left bar.
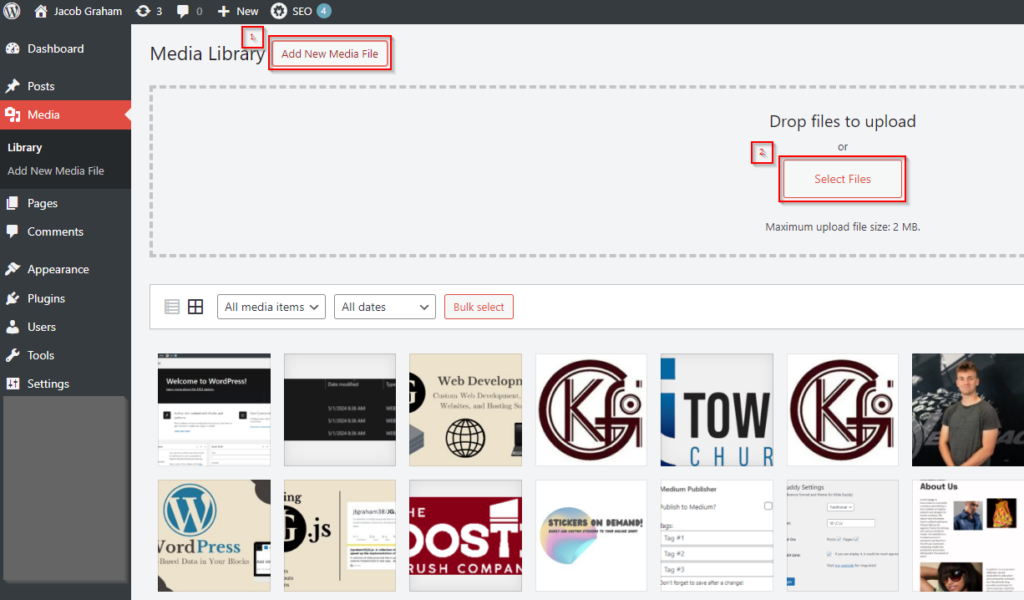
Once you have reached the media page, begin by clicking the “Add New Media” button. Then, click the “Select Files” button that appears.
Choose Your Media Files
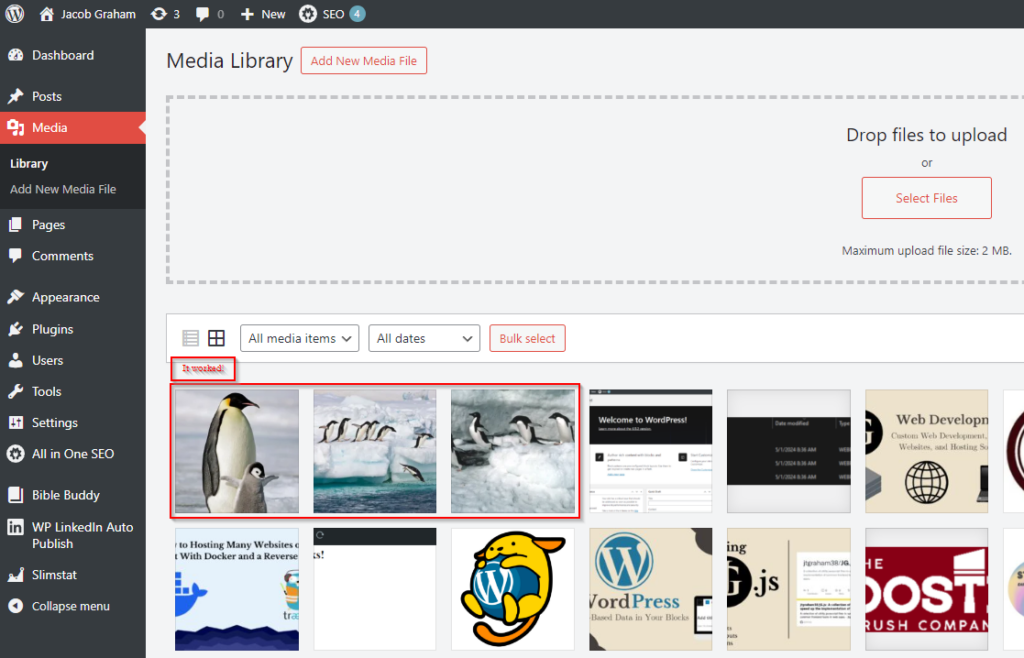
Upon doing that, a file explorer will appear. Simply navigate to the files you want to upload, select them, and confirm the upload. Take note of the maximum file upload size in the previous step. Your files will then appear in your WordPress media library. From there, you can use them anywhere on your site!
Common Issues
Maximum File Size Exceeded
Your WordPress site has a maximum upload size that it can handle. If you try to upload a file that is too large, your site will load slowly and will not be as SEO-friendly. So, WordPress limits the size of the files you can upload. To solve this problem, reduce the size of files you are uploading by changing the file format (PNG to JPEG is a common example), or reduce the resolution of the image you are uploading.
Leave a Reply